To take custom screenshots, you can use the Snipping Tool in the shortest duration possible. It is a built-in tool for capturing screenshots on your Windows laptop or computer. By taking custom screenshots, you can edit the image, if required, and then save the screenshot under the desired name. Next to this, you can launch the “File Explorer” or press the “Windows Logo” and “E” keys together on your keyboard. Then you can click on “This PC”, select “Pictures”, and choose the “Screenshots” folder.
HP-UX has used EFI as its boot mechanism on IA-64 systems since 2002. In October 2017, Intel announced that it would remove legacy PC BIOS support from all its products by 2020, in favor of UEFI Class 3. In 2011, major vendors launched several consumer-oriented motherboards using the Intel 6-series LGA 1155 chipset and AMD 9 Series AM3+ chipsets with UEFI. In 2009, IBM shipped System x machines and BladeCenter HS22 with UEFI capability. Dell shipped PowerEdge T610, R610, R710, M610 and M710 servers with UEFI capability.
How to take screenshots on Windows 10
The screengrab can access under the ‘Steam’ folder of the system. With the release of Windows 10, a few things have changed regarding screenshots. There are new hotkeys and keyboard shortcuts, a screen recording tool, and even some new third-party utilities—so I’ll cover all of your best options below. In the laptop or PC, the Print Screen button is used to take the screenshots.
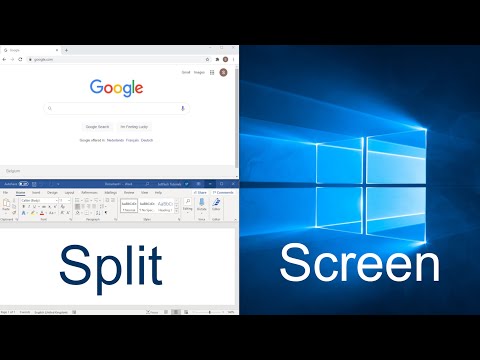
- Before you start, you’ll want to have everything you want to use in split screen already open.
- The shot will be saved to the ‘Screenshots’ folder as mentioned earlier in Method 1.
- After making a screenshot, the picture file can be shared like any other picture on the computer.
In this simple way, we have seen how to split the screen in Windows 10. With these tricks, you can improve productivity in Windows 10. On the right side, check the settings under Snap and choose the settings you want to turn on or off. You can expand a quarter window to half of the screen by pressing Win+Up/Down Arrow.
You can also edit the screenshot using the Pen or Highlighter function. This is useful if you want to focus the attention of the screenshot to a particular section. Once you are ready to take the screenshot, click on New. The screen will fade out and the cursor will turn into a cross. If you selected the delay option, the screen will fade after the selected amount of seconds.
Why my keyboard is not working while booting?
It’s available in all Windows since Vista, and it allows you to quickly cut and save either the whole screen or just a portion of it. However, if you look to the right of this bar, you will see a drop down arrow and clicking this will present you with other choices. There are many reasons why you might need or want to take a screenshot of your computer screen.
How to Enable Windows site oficial Snap Assist
The good news is that this operating system has a built-in capability to create up to four split screens. In this article, you’ll learn how to split screens on laptops and other devices with different operating systems. But, what happens when you’re on the move or in an environment where you have the laptop screen available? The answer is to split the screen, dividing the laptop screen into two separate parts that can mimic having an external display. There are several apps to put videos side by side. The best among all that offers advanced features and works great is Wondershare’s Filmora video editor.